#06 • Magic Beans
We’ve seen how we can add shapes together to create head. Now will look at how two simple circles can give us a body.
Construction
Here will have a top circle, which represents upper body or rib cage and a bottom circle, which we can think of as our hips if we connect them in a sack, we get a torso you can imagine a line that runs through these two circles that represents a flexible spine, where the spine enters and exits the circles at the north and south end of the sack we can place two little dots that show us how these balls are are oriented in space contour lines can further illustrate this.
2. Putting them into action
To put these torso into action we can bend that spine in a number of ways if we stretch one side and pinch or compress, the other we can show a left or right tilt. We can imagine the line bending forward or backwards to indicate a leaf. The way we show which line is is in the front or back is by having one line overlap in front of another. This method of showing perspective is called a T line if we have two lines we’re indicating a twist and by overlapping the circles we get for foreshortening.
3. Mixing it Up
as we’ve seen previously we can manipulate the balls in a number of ways to create variety and interest, consider contrasting their size or squashing and stretching them and if we’d like to give our be shape a little more expressiveness, we can add triangles with the arms and legs would be turning our beam character into a flower sack.
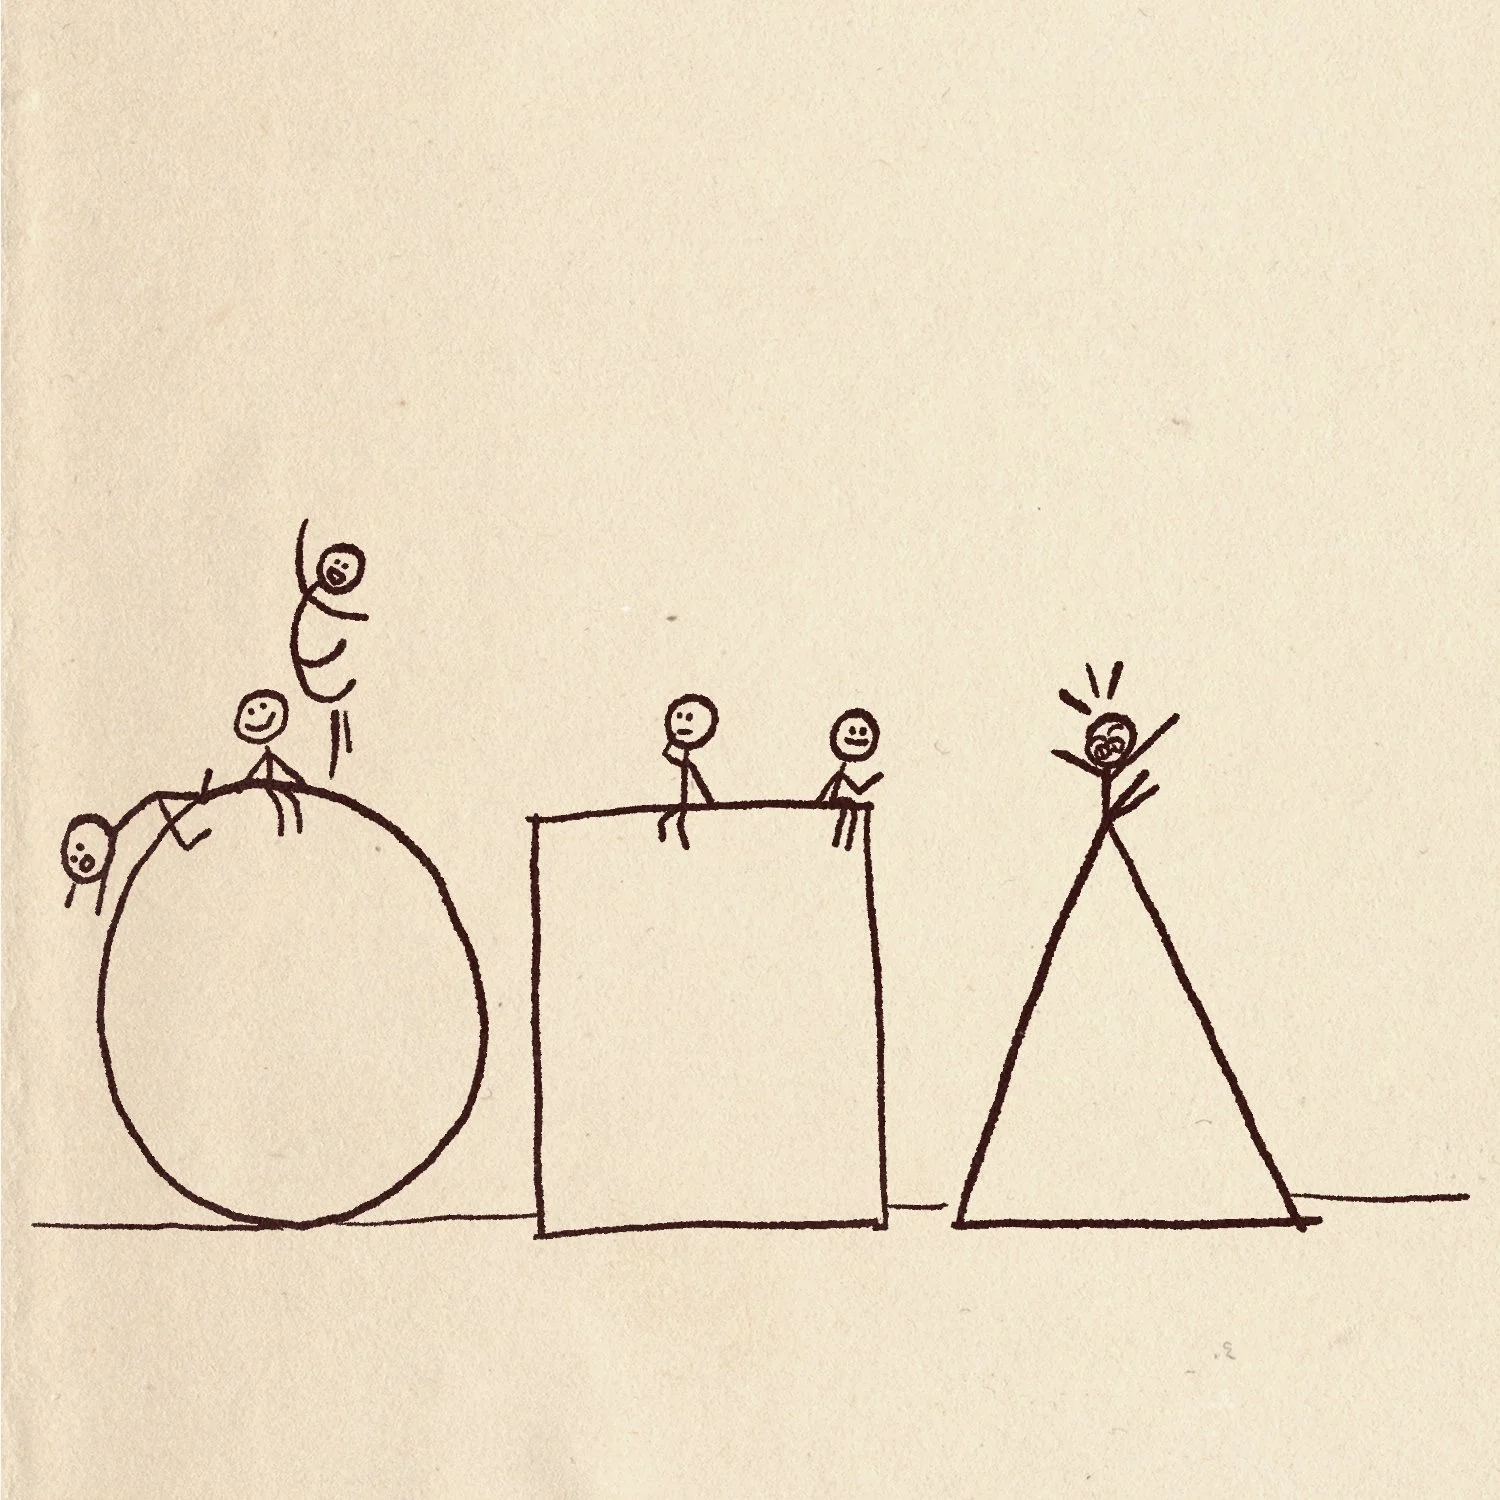
Now Let ‘s take these ideas and spend 10 minutes turning shapes into characters
Assignment: Fill a page with manipulated shapes and then add expressions.